

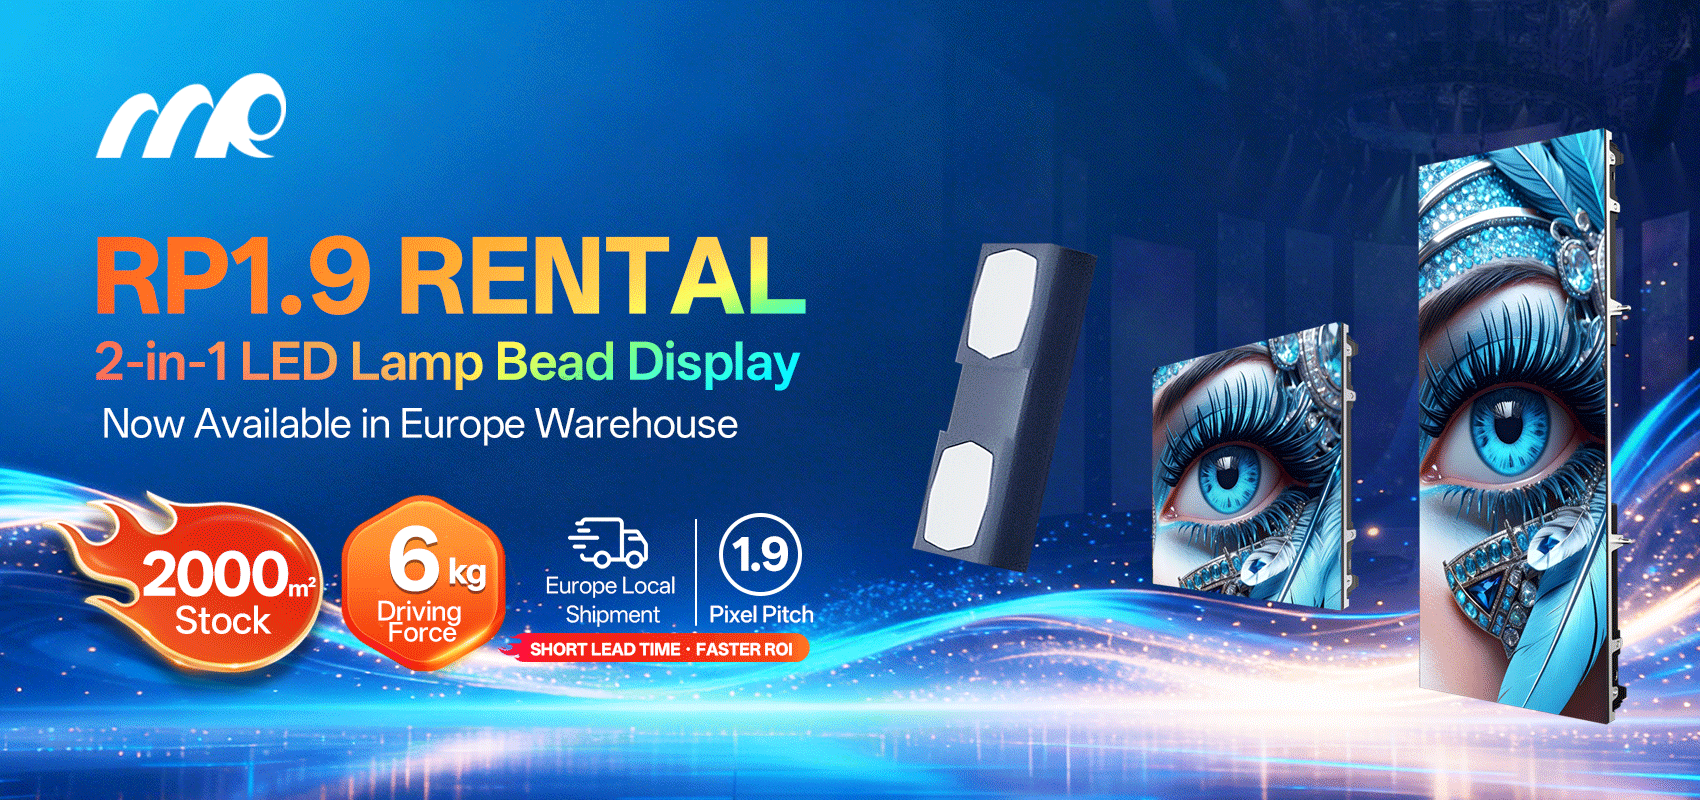
Why this log matters — a problem-driven start
On site, the headline issue is always the same: a wholesale outdoor LED video wall that looks great on paper but fails under real sun, wind and quick-turn maintenance. Field engineers wrestle with dead modules, mismatched colour temperature and panels that need rear access in cramped mounting racks. That gap between spec and site performance is where practical fixes win — and where a reliable led display screen supplier makes the difference.
Real-world anchor: what happens on site
Think back to large event installs like the 2012 London Olympics or major Times Square panels — teams had to calibrate thousands of modules to a consistent brightness and colour balance. Outdoor setups demand higher brightness, thermal tolerance and serviceability. Pixel pitch, cabinet alignment and refresh rate all matter; but the repeated problem is module replacement speed when a cabinet is wall-mounted over a public walkway. Front-service access and a solid calibration workflow cut downtime dramatically.
Calibration workflow that actually works
Start with a baseline: factory calibration data and a target gamma curve. On site, perform a quick visual sweep, then a measured session using a colour meter and test patterns. Use a tiered approach — gross brightness and colour first, then finer per-module adjustments. Keep a single reference module per cabinet and apply delta compensation for neighbouring modules to maintain uniformity. Record every adjustment; a simple JSON log works nicely for later troubleshooting — it’s cleaner than scribbles in a notebook.
Designing for front-service access
Front servicing must be a part of the original spec, not an afterthought. Choose modules with quick-release latches, magnetic return ports or bezel-free edges so a technician can swap a module without dismantling the whole cabinet. Also check for modular power units and hot-swappable receiving cards. If the LED wall faces a stadium or a busy street, front access reduces closure time and safety risks — and saves both labour and venue goodwill.
Common mistakes and smarter alternatives
Manufacturers and installers trip up on a few predictable points. They over-spec for pixel pitch in outdoor contexts — too fine a pitch increases cost and maintenance without visible benefit from afar. They ignore thermal pathways, causing brightness drift as temperature rises. And they forget to test the spare parts workflow — no spares on hand equals long outages. Safer alternatives are: choose sensible pixel pitch for viewing distance (fine pitch LED is brilliant for close-up indoor use but not always worth it outdoors), specify active cooling paths, and keep a spare module stash on site.
Checklist for field engineers — quick reference
– Verify factory calibration files and store them with installation records. – Use a calibrated meter for brightness and colour checks; log values. – Confirm front-service access mechanisms and practice a timed module swap. – Keep spare modules, receiving cards and power units on hand. – Test the wall under operational brightness for at least an hour to reveal thermal drift.
Advisory close: three golden rules for choosing the right setup
1) Prioritise serviceability over marginal pixel gains — ensure front-service access and modular components first. 2) Match pixel pitch to viewing distance, not to a sales sheet — sensible pitch lowers cost and maintenance overhead. 3) Require detailed calibration records and a field-friendly workflow from your supplier; measurable post-install performance beats promises every time.
Those rules steer you towards fewer surprises and faster fixes — and that’s where the value from partners like MR LED shows up in everyday work. —
