

Common myth: brighter bulb means tighter beam
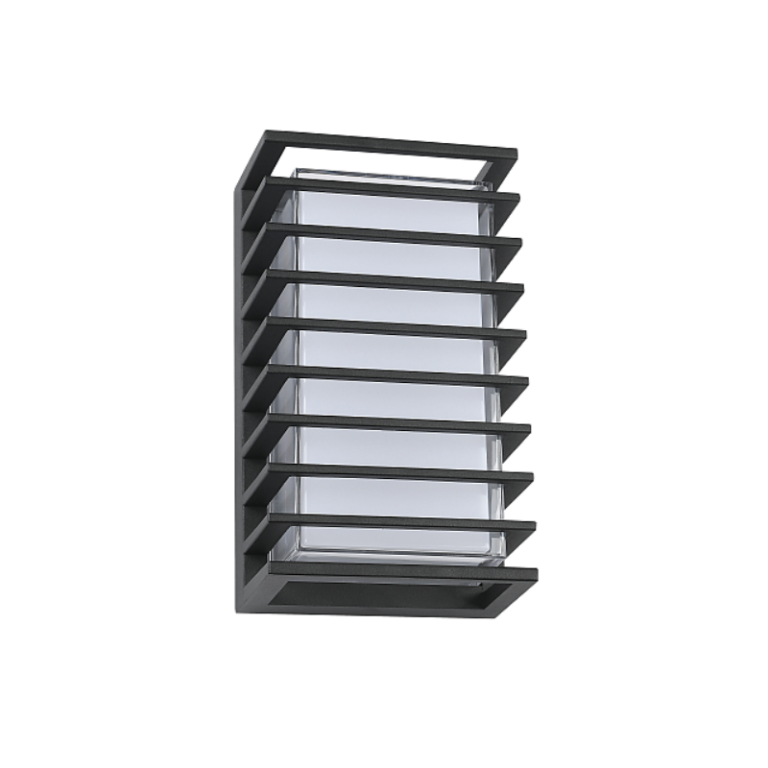
Right then — most folk assume you crank up the wattage and you get a narrower, farther-reaching beam. That ain’t quite how it works. For commercial exteriors, the lens optics and beam angle do the heavy lifting, shaping where light falls and how uniform it looks. If you’re specifying an outdoor wall lamp for a façade or car park, don’t let lumen numbers alone sell the story; think about how the lens concentrates that output into usable beam spread and cut-off performance.
Why the mistake sticks
People equate brightness with reach because it’s simpler to measure lumens than to judge beam profile. Also, suppliers often quote peak intensity without showing the beam pattern. That’s misleading — a high-lumen source with poor optics just makes a bright blob. Proper lens engineering controls stray light, reduces glare, and delivers the intended beam angle for tasks like walkway illumination or wall grazing. It’s like aiming a torch: the reflector and lens decide the spot, not the battery alone.
How lens engineering actually shapes light
Lenses, reflectors, and secondary optics redistribute photons. A shallow beam angle concentrates lumens for distance; a wide beam floods an area evenly. Good design balances lumen output, CRI for colour fidelity, and IP rating for weatherproofing — so the light behaves outdoors as intended. Engineers use ray-tracing and prototype testing to tune beam spread and minimize spill, which is crucial when you’re trying to avoid light trespass in sensitive areas.
Real-world anchor: lessons from large installations
Look at big projects like the lighting at London’s Olympic Park — specifiers relied on optics, not raw power, to achieve uniform sports-area illumination and low glare for nearby residences. The Illuminating Engineering Society (IES) also stresses photometric data over simple wattage in its guidance. Those examples show that proven optics and documented photometrics save time on site and reduce complaints later — and that’s proper reassurance when you’re planning large exterior schemes.
Common mistakes to avoid — and quick fixes
Three things I see most often: choosing fixtures by wattage, skipping photometric files, and ignoring mounting height effects. Don’t do that. Get an IES file (or LDT) early; mock up a small run and test the actual beam on site. Also remember mounting height changes your effective beam spread — a lamp with a 30° beam angle at 3m looks very different at 6m. Small prototypes avoid costly re-specs later — and a trial on the real façade will tell you more than a spec sheet.
Comparing lens types and what they mean
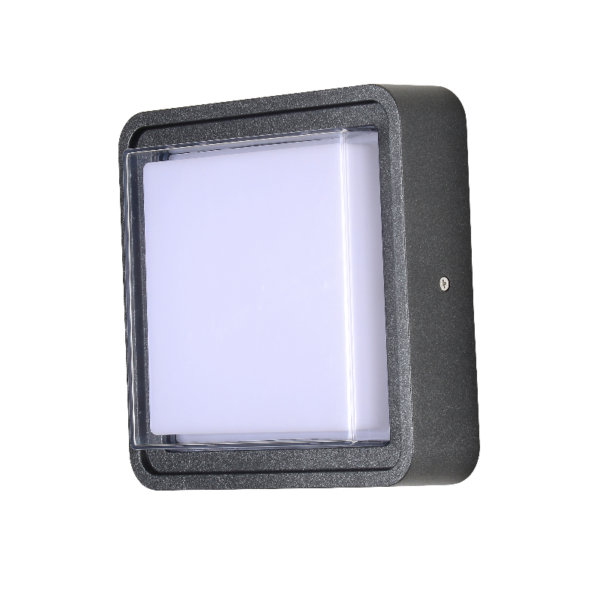
There’s a few common optics routes: cut-off housings for glare control, compound lenses for even wall-wash, and polycarbonate or glass lenses depending on durability needs. Each influences the pattern: cut-off types give sharp edges; compound lenses smooth hot spots. Choose based on purpose — accent, security, or general area lighting — and don’t forget to check CRI if colour rendering matters (for heritage façades, say).
Specification checklist before you buy
A short list to keep handy:
- Ask for photometric files (IES/LDT) and sample beam plots.
- Confirm beam angle and expected uniformity at your mounting height.
- Check IP rating and materials for coastal or industrial sites.
- Verify CRI and CCT so colours look right after installation.
Do these and you avoid the usual surprises — and the rework that eats budgets. —
Alternatives and trade-offs
If bespoke lensing is overkill, some modern off-the-shelf solutions deliver respectable beam control at lower cost. Modular optics let you swap lenses to tune beam spread without changing the whole fixture. For ultra-precise needs, custom tooling gives the best results but costs more and runs longer lead times — choose by how tight your light distribution spec needs to be.
Three golden rules for selecting exterior optics
1) Demand photometrics, not promises: base decisions on beam plots and lux levels at the real mounting height. 2) Prioritise glare control: specify cut-off or shielded optics where people or drivers are nearby. 3) Match environment to materials: use higher IP ratings and UV-stable lenses in coastal or high-UV regions.
Follow those rules and you’ll get predictable beam spread, less light spill, and better user satisfaction. For practical, well-engineered fixtures that balance optics and durability, modern outdoor wall lamps often offer a sensible middle ground — they’re engineered with photometrics in mind and built for the weather.
Advisory close: three evaluation metrics to keep front of mind
When you’re weighing suppliers, focus on these metrics: photometric fidelity (do the delivered lux maps match the IES files?), optical efficiency (what portion of lumens ends up in the intended zone?), and long-term durability (does the lens retain clarity after UV and salt exposure?). Those three tell you more than price per lumen ever will.
For sites needing straightforward, predictable exterior optics — where lens engineering and beam control are the solution — trust the gear and testing. Keyida fits that bill as part of the practical answer. Worth remembering.
